MODELING
Modeling is pretty straightforward and definetly the easiest thing to jump into on blender. Blender has a pretty decent sculpting feature (for the context of animation) where you can sculpt a high-res model and then remesh and retopologize, or you can mesh model, move and add vertices by hand to maintain a good topology.
Modifiers
Modifiers are a huge part of making the modeling workflow more efficient by modifying the mesh in a non-destructive way. Think of it like like layer styles, in Adobe terms. A mesh will almost always use a subdivision surface and mirror modifier to display a higher resolution mesh while keeping the editable vertex count low.
4.27.26: 3d modeling x motion design
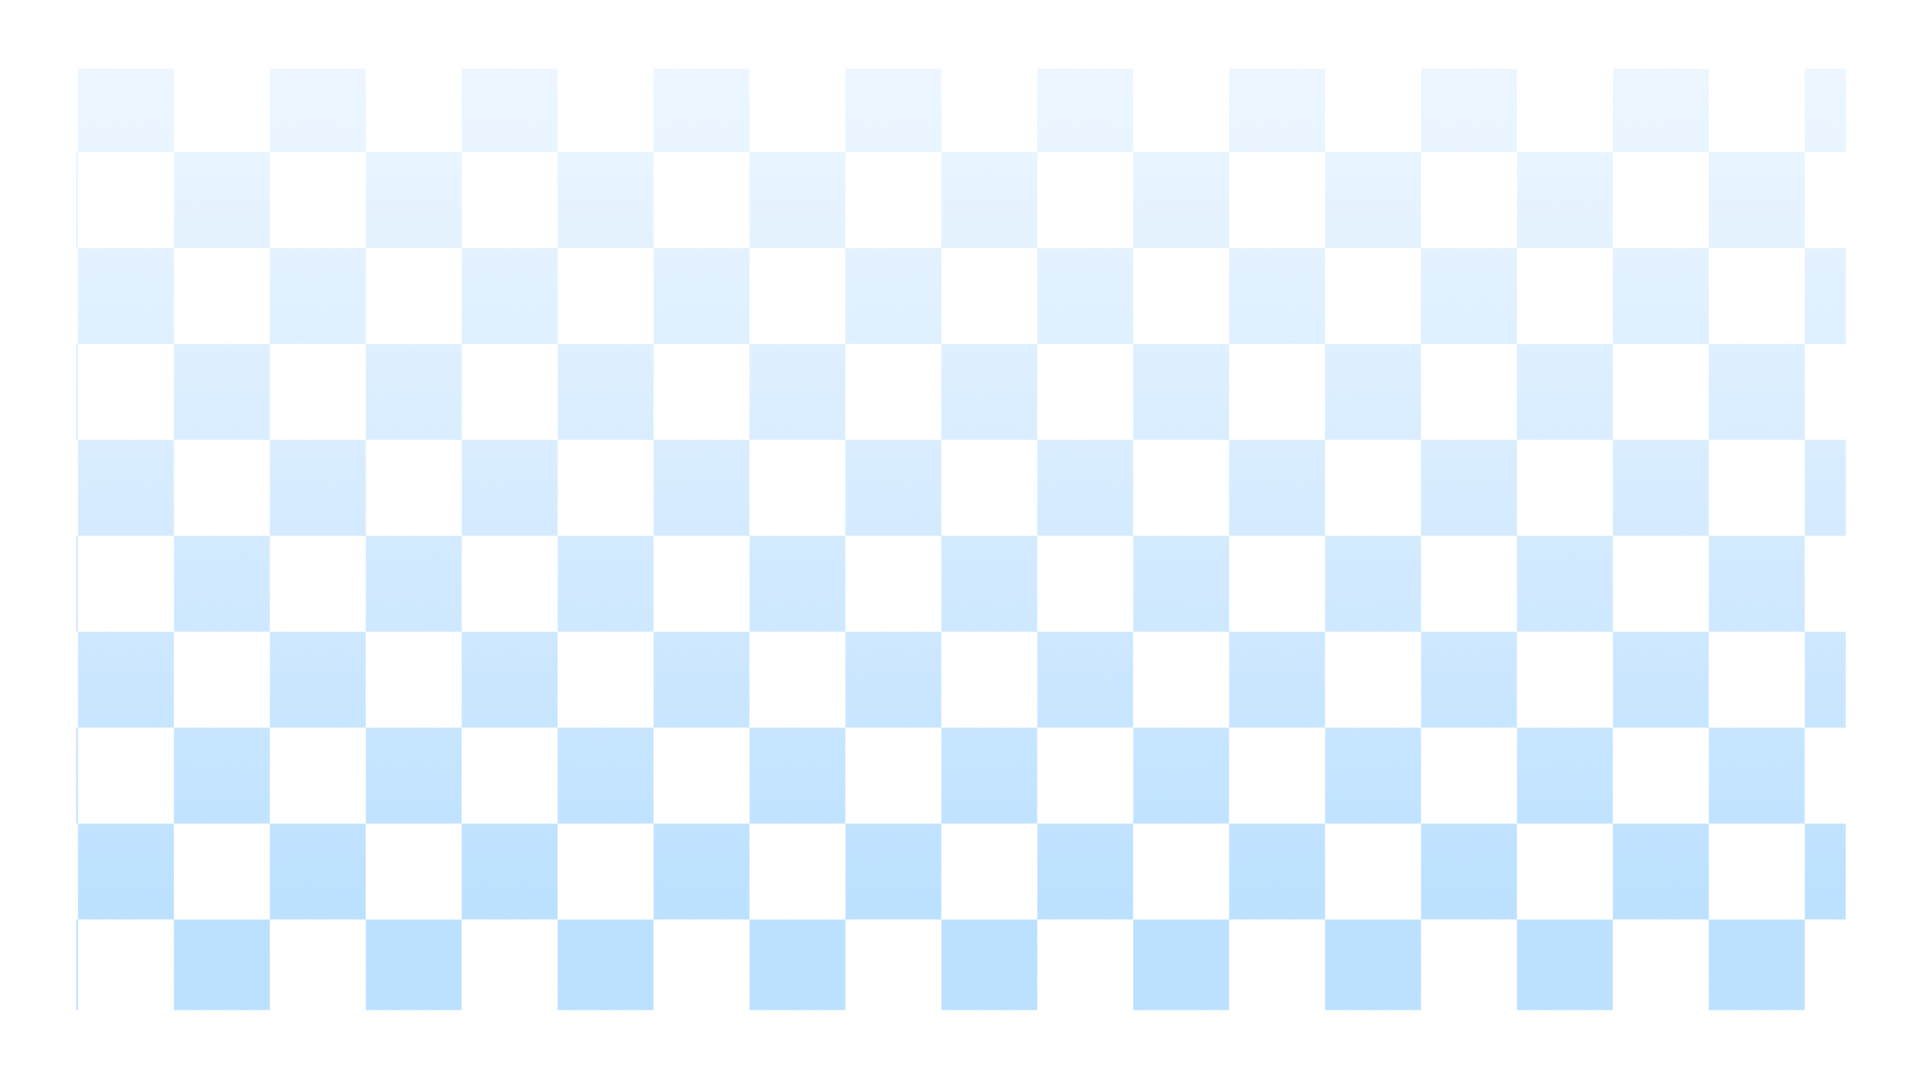
I haven't made the 2.5d page yet so I'm just gonna put this in modeling for now. Blender's numerous modifiers allows you to generate geometry based on the existing mesh. By using planes, we can create the look of a 2d image and procedurally modify it to make an infinite pattern. It's not actually 2d, but you can treat the planes as 2d shapes and create images that look 2d, WITH all the benefits of 3d space like multiplanes. Take this approach to motion design and you can make sliding backgrounds, banners, graphics, etc. for your 2d animated projects.
Here I made an animated background (sliding grid) with 2 array modifiers offset. I also added a frame on top in 3d, but the scale is preserved because I set my camera to orthographic.
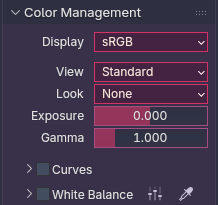
color settings for accurate flat
colors + emission world
rendered result
3.27.26: chud's first retoplogy
Weird that it took me this long to need to retopologize a mesh but alas. Before you start retopology,
DOWNLOAD F2 IT WILL MAKE RETOPO SO FUN AND EASY, also enable magnetics and in the settings, closest, face, face project/ face nearest, add a shrinkwrap modifier, and in the object info panel under viewport display tick "in front." so your new mesh appears on top of the old one. To sculpt the base of my mesh, I actually blocked out the core shapes with a bunch of separate meshes and boolean unioned them all together, then remeshed. This however, creates an ugly and uneven topology with lots of tris (3 vertex faces) and other nasty polygons that don't deform nicely, so we must rebuild the mesh with quads (4 vertex faces). Typically for faces you'd start with the deformation landmarks and fill the gaps from there (but I always mesh model my heads so I don't need to do this) and for bodies you can start at the neck and extrude outwards. There are a few body landmarks you need to keep in mind like the elbows and knees, but the body is pretty straightforward for the most part. It's really really important that you use quads bc you have a random tri in a sea of quads it will deform BAD. I accidentally made a tri in the corner of the mouth and it messed everything up omg it looked so ugly but I turned it into a quad and then everything was ok. Not to say tris are BANNED from meshes, for example if you want your character to have stiff fluff (non deforming) you can extrude a prism with tris and since it's not deforming it will still look good.
"use a multires modifier when sculpting!"